Reception Tasks Before Opening
Operating Procedure
This is an overview of the important tasks reception must do before opening our doors.
Printing Boarding Arrival Room Cards
- Navigate to 'Reports & More' > 'Reports' > 'Print Run Cards'
- Select today's date.
- Under 'Reservation Type', select only the boarding options.
- Press 'Print Run Cards!' - DO NOT ACTUALLY PRINT THEM YET!
- At the top right of the screen, it will say 'Run Card 1 of [XX]' Look at the total number of run cards.
- In a new tab (not closing out of the old tab), access the 'Run Card' document on the 'Paws HQ' Google Sheets document.
- Print out the correct total number of run card bottoms.
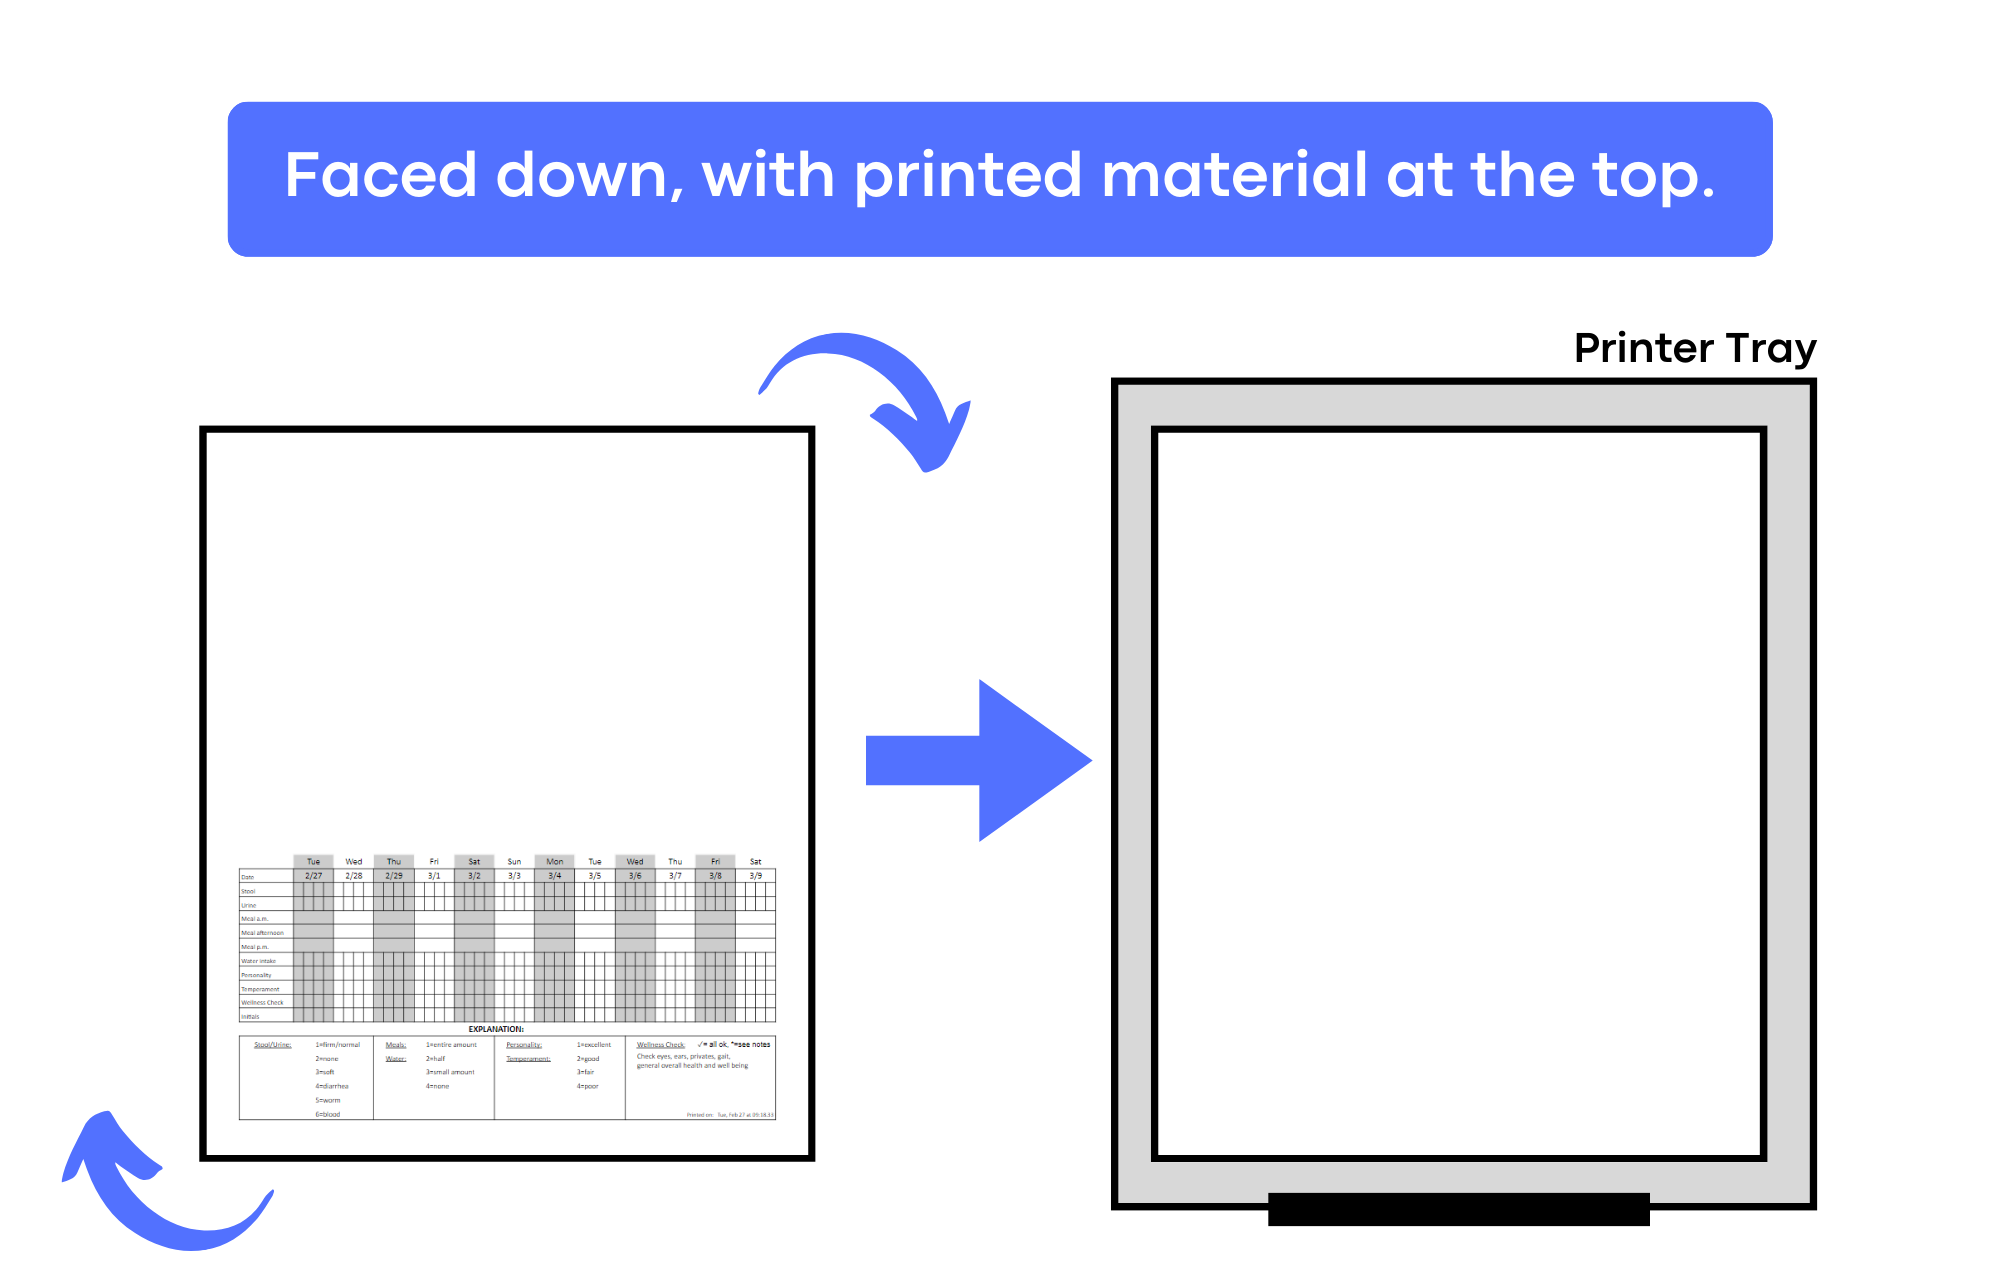
- Once the correct number of run card bottoms are printed, put them in the printer tray faced down, with the printed material at the top.
- Navigate back to the old tab with all the arrival room cards, and press print.
- The room cards have been successfully printed.
- On the top left of each room card for dogs only, write what type of play they go to (individual, big, small, or medium). If the dog needs to be evaluated for group, write 'eval'.
- For all areas besides Luxury Suites and Cat Rooms, fold paper in half and put it in a plastic sleeve.
- Place all room cards on the table next to the R2 desk in alphabetical order and separated by area for easy access. Also, make sure there is tape to hang up the Luxury Suite and Mini Mansion room cards.
Printing ID collars for all arriving boarding dogs
- Note: only dogs get ID collars.
- On the 'Expected Today' section on the dashboard, search 'dog boarding'. Filter by lodging type to sort pets by area.
- Open every filtered reservation in a new tab - to do this, click on the text for the type of the reservation (ex: 'Standard Dog Boarding'). Either right click the text and press open in a new tab, or simply push the scroll wheel down to open the reservation in a new tab. Proceed to open all reservations in their own new tab.
- Navigate to the first tab you opened, and press the print button at the top right, and then click 'Print Labels'.
- This will give you access to a printing preview screen. (Note: if this does not show up, it is because pop-ups are disabled. You must enable popups in order for this screen to show up.)
- Press CTRL + P to print - ensure the destination is set to 'Petdetect Raster Printer'
- Under 'Copies' you must use the chart below to determine how long the collar will be.
| Smaller Breeds (<35 Lbs) | Medium or Larger Breeds (~35-80 Lbs) (Most Common) | Extra Large Breeds (>80 Lbs) |
| 3 Labels Long | 4 Labels Long | 5 Labels Long |
- Once the correct number of copies is entered and the correct printing destination is set, print out the label.
- Labels should be printing now - if they are not,
- We have a switch (on the cash drawer) to swap between printing from the R1/R2 computer. Ensure that the light on the switch refects the computer you are currently using.
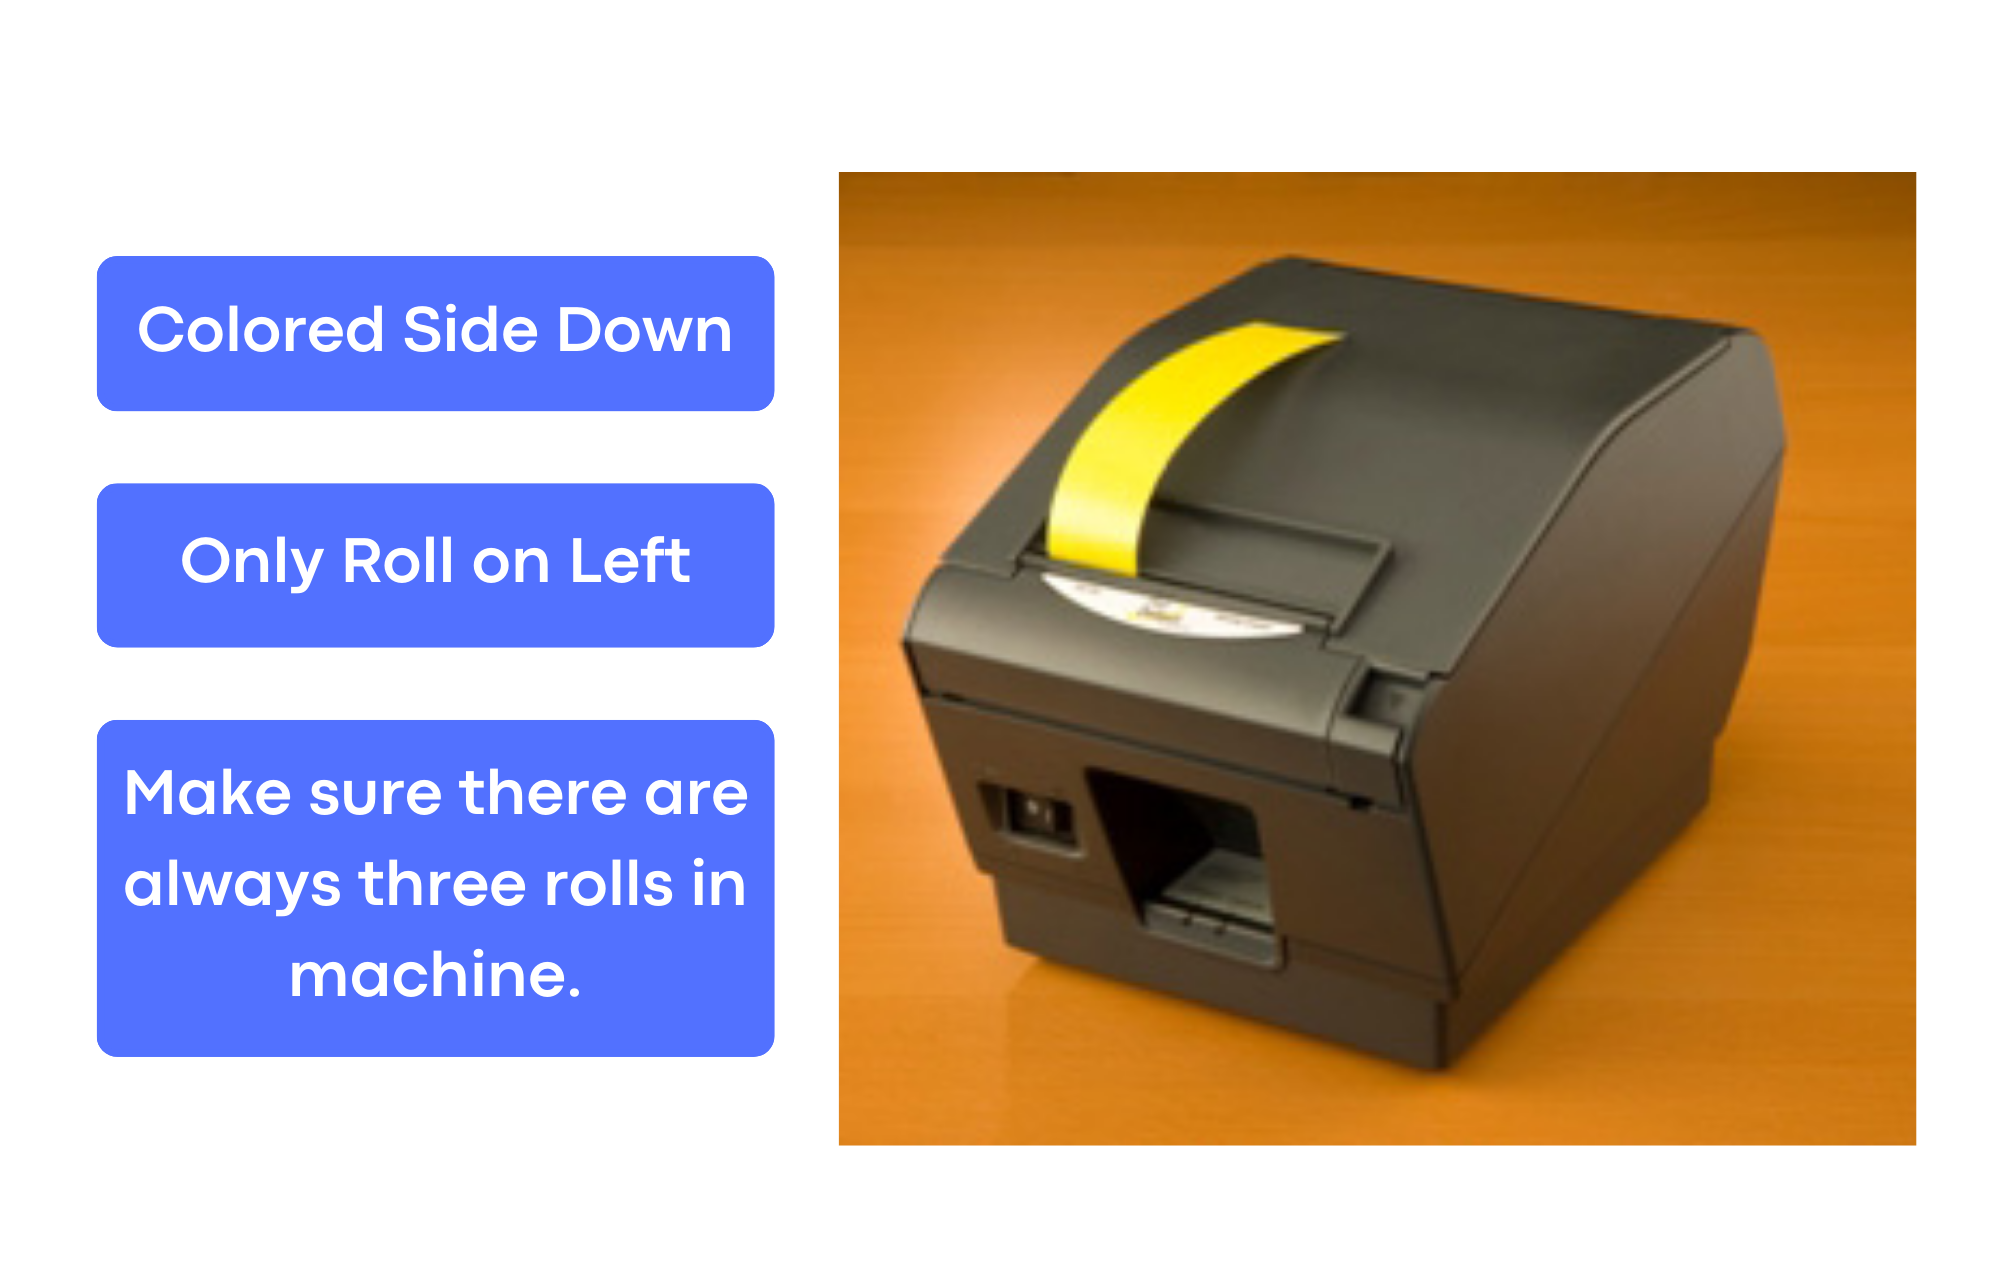
- Ensure there is a roll of label tape fed into the label printer (the colored side should be down - the roll of label tape fed into the machine should be the one on the left. There must be three rolls of label tape, side-by-side, in order for the label printer to work properly. Again - only the leftmost roll should be fed into the machine.
- If the label machine is stalling/not printing well, ensure the roll is aligned perfectly, with no additional slack.
- If the label machine is not cutting each collar well, wipe off the blade CAREFULLY with a disinfectant wipe. Remove all built-on gunk with the wipe and it should cut perfectly after.
- Proceed to print all ID collars.
- Once all ID collars are printed, stick them to the back wall behind the reception desk in room order (remove one smaller section of the back of the sticker and place on wall).
- Double-check that all ID collars have been correctly printed.